Deleting your Facebook account permanently is the easiest task ever. But, sometimes people proceed with deletion without understanding the fact that what’s going to happen actually. I mean if you choose to delete your Facebook account permanently, you won’t be able to retrieve anything you’ve added, danger of losing the other accounts you’ve signed up for using Facebook. The most important thing, there will be no way to reactivate your account.
Still, if you’re pretty sure to delete your Facebook account permanently, this article will guide you in the same. But, in case, you don’t wanna lose your data and just want a break from Facebook for some days, it’s also possible by simply temporarily deactivating your account.
There’re many benefits of deactivating your Facebook account instead of deleting it permanently such as people won’t be able to see or open your Facebook profile, your photos, and videos won’t be deleted, you can still log in to other apps using Facebook and the best thing you can choose to keep using messenger to send messages to your friends.
How To Deactivate Your Facebook Account Temporarily
Deactivating Facebook doesn’t include any risk. It’s as simple as turning a switch off and on. You can anytime reactivate your account whenever you need.
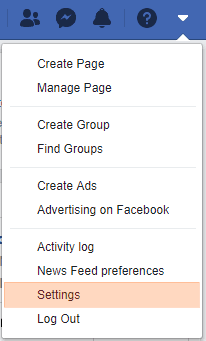
To deactivate your Facebook account temporarily, log in to your Facebook account, click the dark blue chevron icon at the top right corner of the page, and click on Settings.
In the Settings page, click General in the left column and then click the Manage Account option. Here you’ll find the Deactivate Your Account link. Once you click on it, you’ll be asked to enter your password to confirm it’s you.
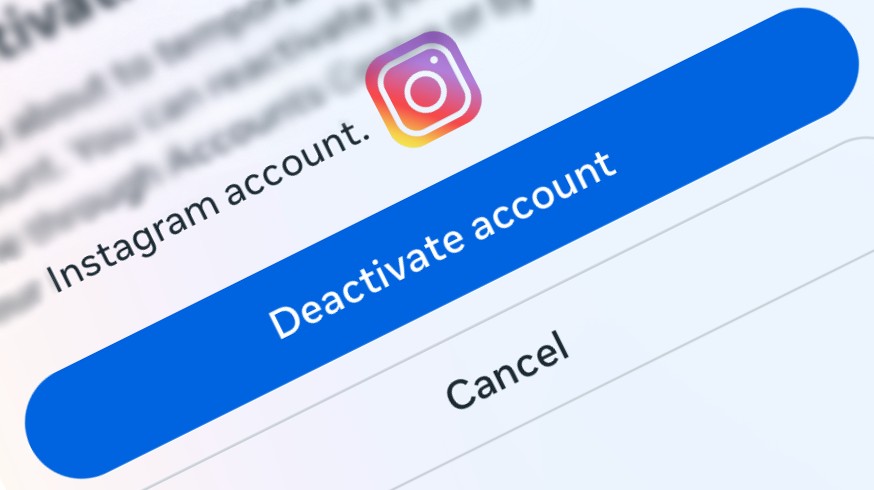
And after password confirmation, on the next screen, you’ll be asked to choose a reason for leaving. And then click Deactivate button on the same screen. Just after in a popup, click Deactivate Now to confirm deactivation. Here you can also choose whether you want to keep using messenger or not.
That’s all about deactivating your Facebook account temporarily. This way you can take a break from Facebook without deleting it permanently. You’re always free to reactivate your account.
But, if it’s not something you’re looking for and want to delete your account permanently for any reason, keep reading the post.
Here’s How to Delete Your Facebook Account Permanently
If you’ve decided to permanently delete your Facebook account, you should first download a copy of your Facebook data because it is going to delete your whole data too.
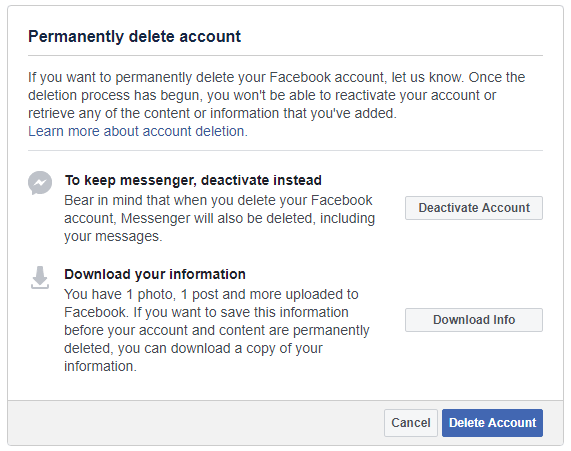
Now once you’re all set to delete your Facebook account permanently, just log in to your account, go to Facebook Settings, select Your Facebook Information option, and click Delete Your Account & Information. OR you can visit this link to directly open the account deletion page where you’ll have to click the Delete Account button.
Once you click this Delete Account button, you’ll need to enter your password, click the Continue button, and again click the Delete Account button in the popup.
That’s all about permanently deleting your Facebook account. Must remember that by deleting your Facebook account permanently you’re going to delete all your data associated with that Facebook account.
But, Facebook still gives you another chance to recover your account even after submitting it to delete permanently. In fact, by clicking this Delete Account button, your Facebook account isn’t going to delete immediately. Within these 30 days, you can log in to your Facebook account and click the Cancel Deletion button.
So, Facebook gives you 30 days to recover your account after submission for permanent deletion. After these 30 days, the deletion process will begin and then you won’t be able to restore it anyhow.


