There are different ways to install the Windows operating system on your computer. Most people use the bootable Windows CD/DVD for the same.
But, as we just need to install Windows on the computer once in a while so it becomes a bit difficult to keep the CD/DVD safe for a long time.
Other than this, sometimes due to the scratches over the Windows installation CD/DVD, it shows different errors at the time of installation such as any important file is missing or we cannot proceed further.
So, to get rid of these problems it’s a great idea to create and keep the bootable USB disk for Windows.
Whether you’re using Windows 7 or Windows 8, this post will guide you on how to create a bootable USB drive for any of your Windows operating system versions.
How to Create a Bootable USB Disk for Windows 7
To create a Windows 7 bootable USB drive the very first thing you need is an ISO file or Windows 7 disc image.
Update: Microsoft has officially ended support for Windows 7 and removed its ISO download link. However, third-party downloads are available, but they may be unsafe.
Once you’ve downloaded the ISO file, follow these steps to burn it into a USB drive:
- Download the Windows USB/DVD tool from the Microsoft Store, and then run it to install.
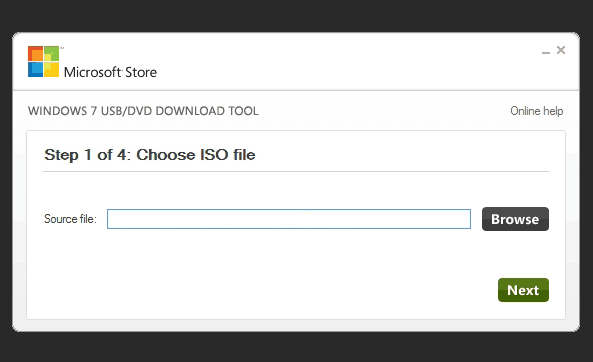
- Once the tool is installed on the PC, click on the Browse button and choose the Windows 7 ISO file you downloaded. Click on Next.
- In the next step, you’re required to choose the media type where you want to save this ISO file. If you want to make a bootable USB drive, just choose USB Device instead of DVD.

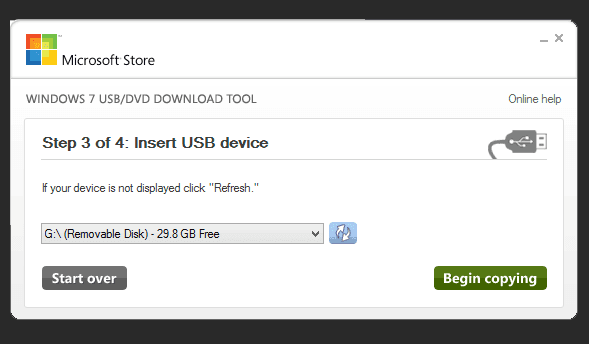
- Now, you’re required to connect a pen drive with at least 4GB space to your computer. Then select the pen drive from the drop-down menu as shown in the following screenshot and click the Begin Copying button.
Note: Make sure you back up all data from the pen drive to your computer as it will be erased during this process.
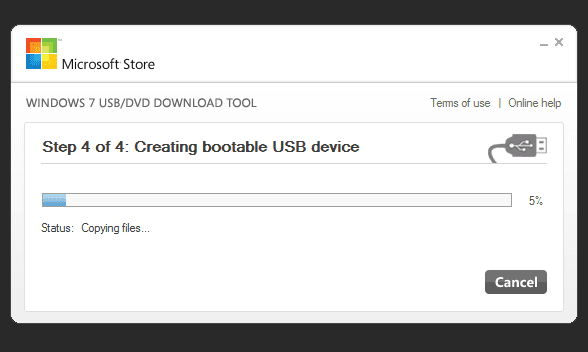
- As soon as you’ll click on the Begin Copying button, it will start creating the bootable flash drive and when this process is complete, you’ll have a bootable Windows 7 USB ready.
Must Read: How to Unlock Windows Laptop When Forgot Password
How to Create a Bootable USB Drive for Windows 8
Creating the bootable flash drive for Windows 8 isn’t that different from that of Windows 7. For Windows 8 you can simply start with downloading and installing the Windows Media Creation Tool.
- So, download the Windows Media Creation tool from here and then install it on the computer.
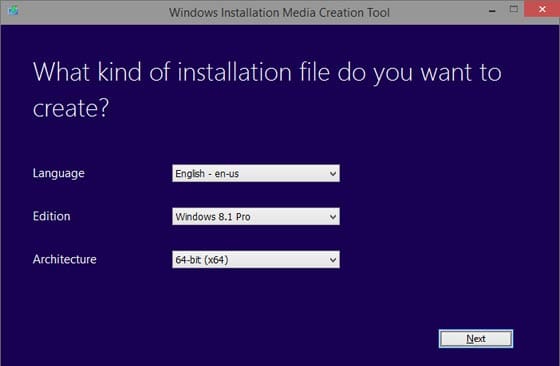
- Now, select Language from the first drop-down menu, then select the Edition of Windows you want to install in the second drop-down and in the third drop-down menu next to Architecture choose whether you want a 32-bit or 64-bit version of the OS. At last click on Next.
- Now, insert the USB drive to your computer making sure that it has at least 4GB free space. If your pendrive has any important data, create a backup as it will be erased during this process.
- Now you’re required to choose where to save the ISO file. Choose a USB flash drive. Click on Next.
- You’ll see a list of USB devices connected to your computer. Select the pen drive where you want to download the ISO file and click Next.
- Now the Media Creation Tool will download the ISO straight to your pen drive. When the download completes, click Finish.

That’s all. Your bootable USB flash drive for Windows 8 and Windows 7 is ready. Now you can use this USB drive to install Windows on your computer.
I hope you’ll find this tutorial useful. Once you have the bootable USB drive, you’ll never need the installation DVD/CD and instead, you can just use the bootable USB drive every time you want to format or reinstall Windows.
Don’t Miss: How to Get Windows 7 Start Menu in Windows 8


