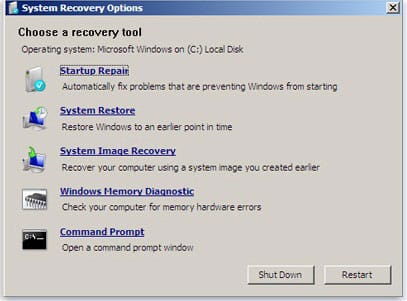
If Windows detects possible problems with your computer’s memory, it will prompt you to run the Memory Diagnostics Tool. It generally works in Windows 7. It just scans your memory for errors and helps you diagnose the memory problems.
But, in case you highly require Windows Memory Diagnostic Tool and it is not opening automatically, then still you can run this tool manually. However, Windows recommends you let this tool open automatically.
Run Windows Memory Diagnostic Tool Manually
Now, learn how you can run the Windows Memory Diagnostic Tool manually without waiting for it. Here are the simple and to-the-point steps provided to open this tool anytime you need. Have a look at the following steps:
STEP 1: To open the Memory Diagnostic Tool, click on the Start button and then click on Control Panel.
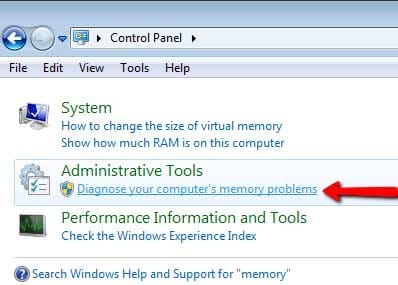
STEP 2: Now, type “Memory” in the search box and then click on Diagnose your computer’s memory problems.

STEP 3: Now, it may ask you to run this program as administrator to enter Admin password or confirmation. Do so and then you’ll see the Windows Memory Diagnostic Tool.

Related Article: What are System Recovery Options in Windows 7
That’s all, now you can select any of the two options for memory diagnostic tool. It means restart now/diagnose problems now or next time when you open the computer. I hope the guide will be helpful to you.


