A Windows VPS (Virtual Private Server) is an easy and affordable way to manage your own hosting space without buying any physical hardware. It gives you the freedom to control everything, just like a personal computer, but online.
You can use it for multiple purposes, like launching a website, running business software, or testing different development tools. A VPS also grows with you, so you can increase power and storage whenever you need.
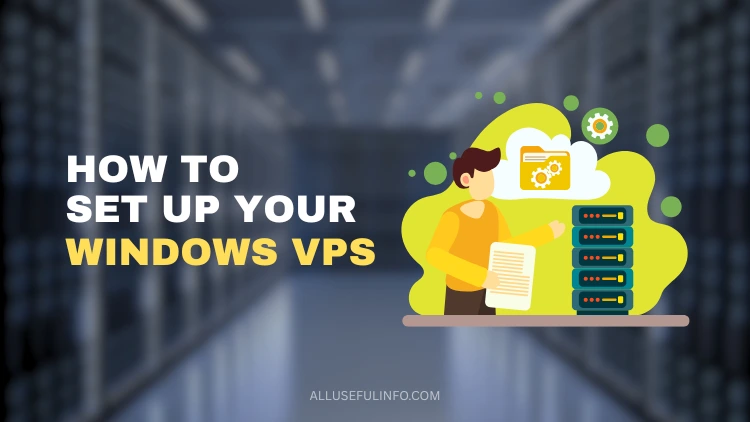
In this guide, I’ll show you how to set up your Windows VPS step by step in a quick, safe, and simple way.
Disclosure: This is a sponsored article, but the information shared here is meant to help our readers.
1. Choose a Reliable Provider and Plan
The first thing you need to do is pick a trustworthy Windows VPS hosting provider. Go for one that’s known for good uptime, clear pricing, and solid performance.
Make sure the host offers fast SSD or NVMe storage, flexible plans, and data centres in multiple regions. These small details make a big difference in how smooth your VPS runs.
If you’re in the UK or Europe, try choosing a provider that has data centres near your location. It helps reduce delay and gives you a much faster connection.
Next, take a look at the plans they offer. Some are perfect for small projects or testing, while others are built for heavy business workloads. Most providers let you customize the resources based on what you need and how much you want to spend.
So, compare a few key things like CPU power, RAM, disk space, and bandwidth. Pick the plan that gives you the right balance between performance and price for your goals.
2. Create an Account and Deploy Your VPS
Once you’ve chosen a plan, sign up using your email and billing information. Most web hosts will send a verification email before you can proceed. After logging in, head to your account dashboard and choose Create VPS or a similar option.
Now, it’s time for you to select the following options:
- Operating system: Windows Server 2019 or 2022 are the most common options.
- Data centre: Choose the one closest to your main audience for better performance.
- Resources: Adjust CPU, RAM, and storage according to your project’s size.
The provider’s system will begin provisioning your virtual server, often completing the process within a few minutes.
3. Secure Your Login Details
Okay, now comes the part most people ignore; setting up your password. Don’t take it lightly.
When your VPS asks for an Administrator password, make it strong. Like, really strong. Use random letters, numbers, and a few symbols here and there. And don’t use something like admin123, that’s just asking for trouble.
Once your VPS is ready, your hosting provider will share a few things with you like your IP address, your Admin username, and the password or sometimes an access key.
Keep all that safe. Seriously. Don’t leave it lying around in a note on your desktop. Use a password manager if you can.
And if your provider gives the option for two-factor authentication, just turn it on. It takes a few seconds but adds a nice extra layer of safety. You’ll thank yourself later.
4. Connect to Your VPS Using Remote Desktop
Now it’s time to start using your VPS and the best way is by using the Remote Desktop Connection feature of Windows computers. Don’t worry, it’s a very simple tool that lets you control your VPS like a normal computer.
If you’re performing it on a Windows computer, you get the Remote Desktop Connection by default:
- Click the Start button and type Remote Desktop Connection.
- In the box, put your VPS IP address.
- When it asks, enter your Administrator username and password that your host gave you.
In case you’re using a Mac computer, the only difference is that you’ll have to install the Windows App (Previously known as Microsoft Remote Desktop app) from the Apple App Store.
- Go to the App Store and install the Windows App.
- Open it and click to add a new PC.
- Type in your details and hit connect.
That’s it. After a few seconds, you’ll see a normal Windows desktop on your screen. That’s your VPS. It feels like your own computer, just running somewhere else. Pretty cool, right?
5. Update and Configure Your System
So, now you’re inside your VPS. Before doing anything, the first thing you should do is update it.
Don’t skip this part because updates fix bugs, close security holes, and make sure everything runs smoothly.
Just go to Settings > Update & Security > Windows Update, and click on Check for updates.
Let it install whatever it finds. It might take a few minutes, so wait until it completes.
Once that’s done, it’s time to check your Windows Defender Firewall. This part keeps your server safe from random attacks.
Make sure only the important ports are open:
- Port 3389 – for Remote Desktop
- Port 80 – for normal websites (HTTP)
- Port 443 – for secure websites (HTTPS)
If you’re not using any other ports, just keep them closed. Simple as that. It’s a small step, but trust me, it makes your VPS a lot more secure.
6. Personalize and Prepare Your Server
Okay, now let’s make your VPS feel a bit more personal. The first thing I usually do is rename the computer. If you manage more than one server, this helps a lot later. You don’t want to keep guessing which one’s which.
Next, fix your time zone. By default, it’s usually set to some random place. Change it to your local time so your logs and tasks match up properly. Makes tracking stuff much easier.
Now, start adding the tools you actually need. For example:
- IIS if you’re planning to host websites
- .NET or ASP.NET if you’re working with web apps
- SQL Server (Express or Standard) if you need a database
You can install them easily from Server Manager > Add Roles and Features, or just grab the installers directly from Microsoft’s site.
That’s pretty much it. Once you’re done, the server starts to feel like yours; set up the way you like it.
7. Set Up Backups and Monitoring
Data loss prevention is critical. Most hosts provide built-in backup options or allow you to schedule automated snapshots. Set these to run daily or weekly, depending on how frequently your data changes.
In addition, enable monitoring tools to track CPU, RAM, and storage usage. This helps you identify potential performance issues before they become serious problems. Many hosting providers include real-time dashboards for easy tracking.
8. Strengthen Your Server Security
Now let’s talk about security. I know it sounds boring, but trust me, this part matters a lot.
Having a strong password is good, but that’s just the beginning. You still need to lock down a few things.
First, turn on Network Level Authentication for Remote Desktop. It stops random people from even seeing your login screen. If you can, allow RDP access only from your own IP address. That way, nobody else can even try to get in.
Keep Windows Defender running all the time, or any other antivirus you like, but don’t leave your server without protection. Also, remove stuff you’re not using. Get rid of the unused accounts and old software. The fewer doors you leave open, the safer you are.
Once in a while, check your logs. If you notice something strange, look into it. And when Windows shows an update, don’t wait. Just install it right away.
9. Launch Your Website or App
Now comes the fun part. Your VPS is ready, secure, and waiting for something to do. If you want to put your website or app online, here’s how.
Log in to your domain registrar and go to the DNS settings. Find the A record and replace the IP with your VPS’s public IP address. That’s what connects your domain to your VPS.
If you’re using IIS, open it and set up the site bindings. Then install an SSL certificate so your site opens with HTTPS. It also keeps user data safe.
Once you’re done, open your browser and type your domain name. If everything went well, your website should appear. And that’s it. You just launched your own site on a Windows VPS.


