
Sometimes we stop using our laptop for a moment, and within a few minutes we come back and see it’s already asleep. Now we have to type the password, wait for it to wake up, and by that time, we have already lost our focus.
Windows does this automatically to save power. So, when you stop using your laptop for even a few minutes, it just goes to sleep. It is not a bug; it is just how Windows is set up by default.
But if you want to stop your Windows laptop from sleeping when not in use, it is actually very simple to do. I will show you the easiest method first and then cover every other way to change the sleep settings on your Windows laptop, so you can pick whatever works best for you.
Why Does Your Windows Laptop Keep Going to Sleep?
Windows has a built in timer. When it does not detect any activity on your laptop, like a mouse movement or a keypress, it assumes you are done and puts the laptop to sleep. By default, this timer is set to as little as 2 to 3 minutes.
So even if you are just reading something on your screen without touching anything, Windows thinks you have left and puts the laptop to sleep.
There are three main things that trigger sleep mode on a Windows laptop. The idle timer in power settings, which is what most people are dealing with. The lid close action, which is a separate setting that most people do not even know about. And sometimes an old or degraded battery that forces the laptop into sleep to protect itself.
Most of the time though, it is just that idle timer that nobody ever changed.
The Quickest Fix to Stop Your Windows Laptop from Sleeping
If you just want this sorted right now without going through multiple settings, here is the fastest way to do it.
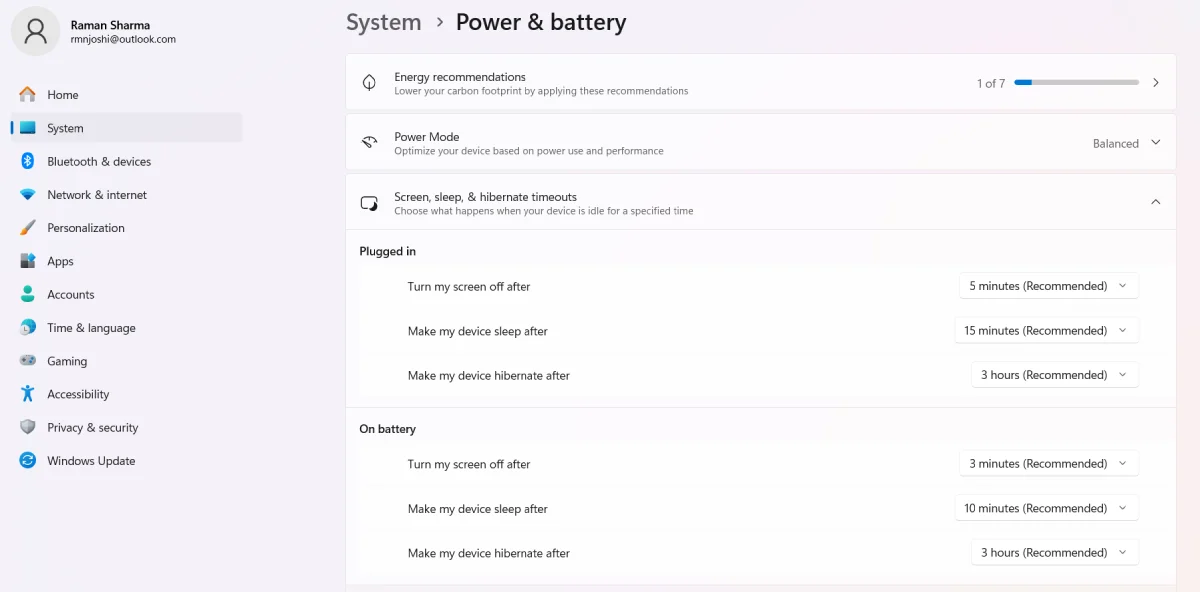
On Windows 11, press the Windows Key+I to open Settings. Go to System, then Power and Battery. You will see a section called Screen, Sleep, & Hibernate Timeouts.
Click on it to expand, and you will find a setting that says “Make my device sleep after” under two different options: Plugged in and On Battery. Set both of them, the one for on battery and the one for plugged in, to Never. That is it.
On Windows 10, open Settings the same way. Go to System and then Power and Sleep. Under the Sleep section, you will again see two dropdown menus. Set both to Never.
Once you do this, your laptop will stop going to sleep on its own when you are not using it.
Other Methods to Stop Your Windows Laptop from Sleeping
The method above works for most people. But if it does not work for you, or if you want more control over your sleep settings, here are all the other ways to do it.
Stop Windows Laptop from Sleeping Using Control Panel
This method is useful if the above-mentioned method did not work for you, or if you are on an older version of Windows where the Settings app looks different or does not show all the options. The Control Panel has been in Windows for decades and gives you a bit more direct access to power settings than the newer Settings app does.
- Go to your Windows search bar, type Control Panel, and open it.
- Click on Hardware and Sound.
- Click on Power Options.
- On the left side, click “Change when the computer sleeps“.
- Set “Put the computer to sleep” to Never for both On battery and Plugged in.
- Click Save Changes.

Using the Caffeine App (Best When You Cannot Change System Settings)
Sometimes you are on a work laptop where IT department has locked down the settings and you cannot change anything. Or maybe you just want a quick solution without touching any settings at all. Caffeine is a free tool that does exactly that.
It works by simulating a tiny keypress every 59 seconds, which keeps Windows from thinking you are idle. It does not require installation, it is less than 500KB in size, and you just download and run the .exe file.
Here is how to get it running:
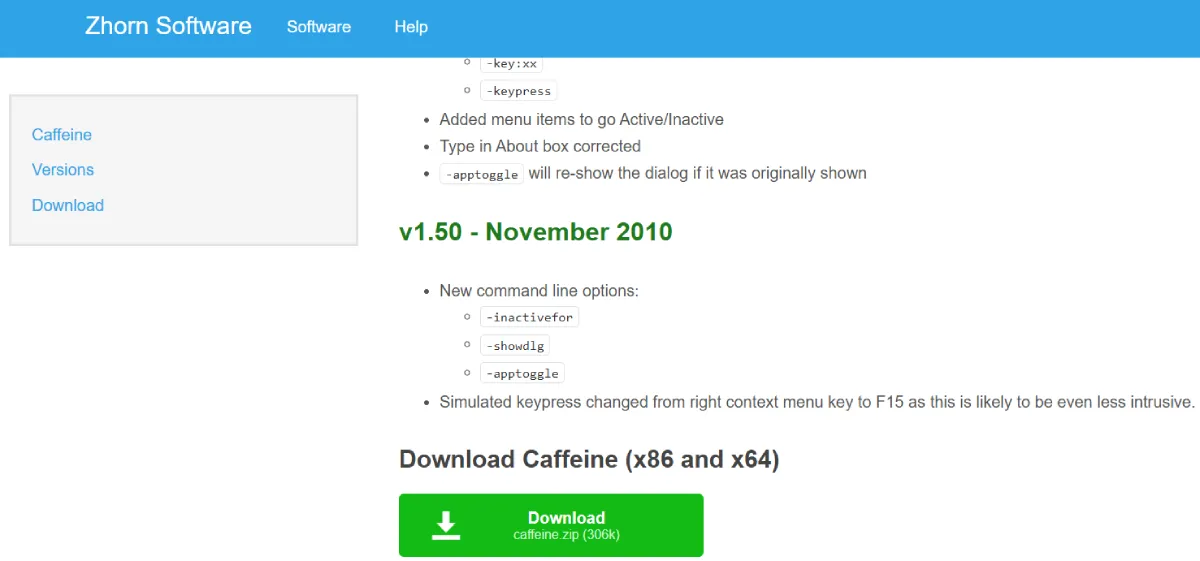
- Search for Caffeine software for Windows, and you’ll find the Zhorn Software website from where you can download it.
- You will see two versions, 86-bit and 64-bit. If you are not sure which one your system is, press the Windows key, type “About your PC,” and open it. Under Device Info, look for System Type. It will tell you whether you are running an 86-bit or 64-bit operating system.
- Download the right version and save it anywhere on your computer; your Desktop works fine.
- Double-click the file to run it. No installation needed, it just starts.
- You will see a small coffee cup icon appear in your system tray at the bottom right of your screen.
- That means it is working. Your laptop will now stay awake as long as Caffeine is running.
- To turn it off, right-click the coffee cup icon and select Exit.
Next time you start your laptop, you will need to run the file again since it does not install itself as a startup program. If you want it to run automatically every time you boot up, you can place a shortcut to the file in your Windows Startup folder.
Using Microsoft PowerToys Awake
PowerToys Awake is the more polished alternative to Caffeine and the best part is that it comes from Microsoft itself. Unlike changing power settings permanently, it keeps your laptop awake only while this app is running. As soon as you close it, everything goes back to normal.
- Open the Microsoft Store, search for Microsoft PowerToys, and install it
- Once installed, open the PowerToys app.
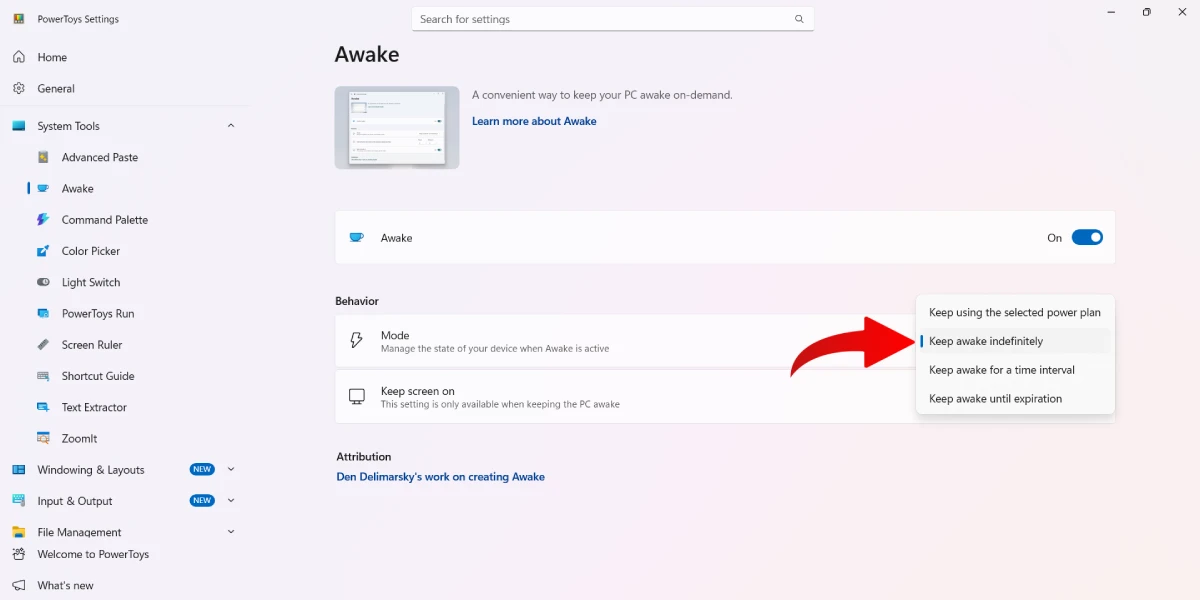
- Click on Awake in the left sidebar
- Turn the Awake toggle on to enable it.
- Under Mode, choose Keep awake indefinitely or set a specific number of hours, depending on what you need
- A small icon will appear in your system tray confirming it is active.
When you are done, just toggle it off from PowerToys or right-click the tray icon and exit.
Using Command Prompt (For Advanced Users)
If you manage multiple laptops or just prefer doing things through Command Prompt, you can disable sleep mode with a single command. Open Command Prompt as Administrator by right-clicking the Start button and selecting Terminal (Admin) or Command Prompt (Admin). Then type this and press Enter:
powercfg /change standby-timeout-ac 0This disables sleep when your laptop is plugged in. If you also want to disable it on battery, type:
powercfg /change standby-timeout-dc 0Setting the value to 0 means never sleep. If you ever want to bring it back, just replace 0 with the number of minutes you want.
Pro Tip: What About When You Close the Lid?
Closing the lid is handled by a completely separate setting in Windows. So even if you set sleep to Never using any of the methods above, closing the lid will still put your laptop to sleep by default.
If you ever need your laptop to stay on with the lid closed, you can change that by going to Control Panel, then Power Options, and clicking “Choose what closing the lid does” on the left side. Set it to Do Nothing for both on battery and plugged in.
What If Your Laptop Still Goes to Sleep After Changing Settings?
This is more common than people think. You change the timer to Never, but the laptop still sleeps. Here is why that happens and what to do.
The most common reason is the screensaver. Some themes in Windows activate a screensaver, which can push the laptop into sleep even when your power settings say otherwise. Go to Settings, then Personalization, and search for Screen Saver. Make sure it is set to None.
Another reason is something called the Unattended Sleep Timeout. This is a hidden timer in Windows that is separate from the regular sleep timer. It kicks in when Windows wakes up on its own to do background tasks, like installing updates, and then goes back to sleep after a short time. Most users never see this setting because it is not visible by default in Power Options. If your laptop keeps sleeping despite everything being set to Never, this hidden timer is likely the cause. You can fix it through the Registry Editor, but that is an advanced step so most people find it easier to just use the Caffeine app instead.
If you are on a work or school laptop, your IT department may have applied group policies that override your settings. In that case, only they can change it.
Running the built-in Power Troubleshooter can also help. Press the Windows key, type Troubleshoot, open Troubleshoot Settings, find Power, and run it. Windows will scan for anything conflicting with your settings and try to fix it automatically.
Wrapping Up
For most people, going into Settings and setting the sleep timer to Never takes care of it completely. If that does not work, using the Caffeine app or Microsoft PowerToys’ Awake is genuinely the easiest solution out there.
Just remember that if you are using your laptop on battery, keeping sleep disabled will drain it faster. So if you do not need it running all the time, setting a longer timer like 30 or 60 minutes is a smarter move than turning it off completely.


